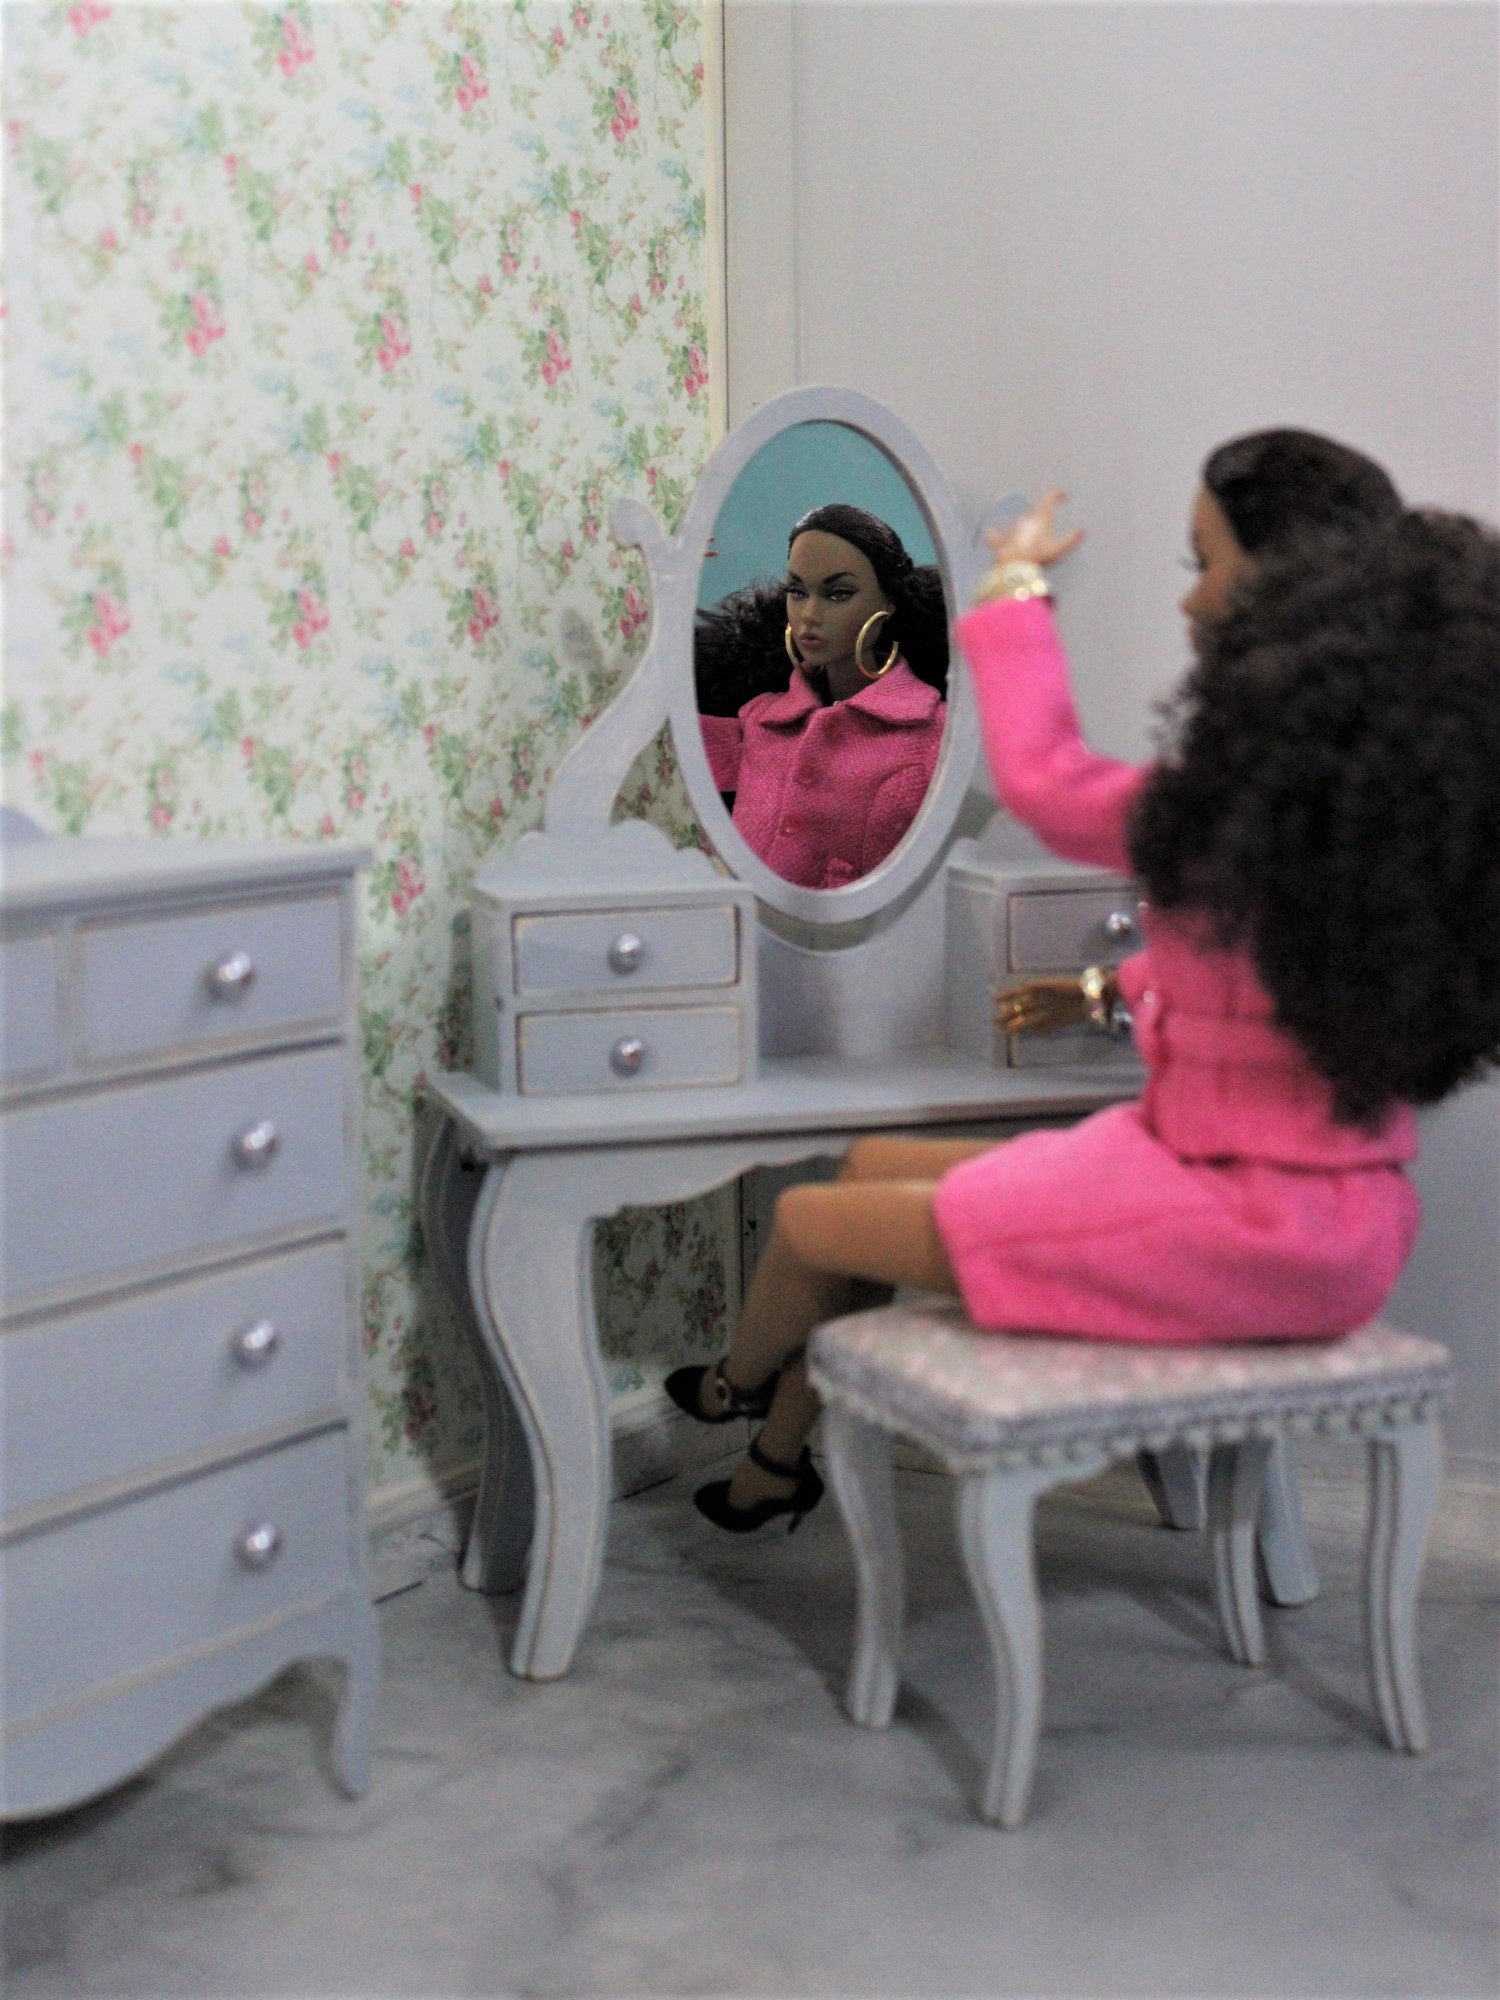
Everyone Needs Playtime

In our hectic, modern lives, many of us focus so heavily on work and family commitments that we never seem to have time for pure fun. Somewhere between childhood and adulthood, we stopped playing.

When we carve out some leisure time, we’re more likely to zone out in front of the TV or computer than engage in fun, rejuvenating play like we did as children. But play is not just essential for kids; it can be an important source of relaxation and stimulation for adults as well.

There doesn’t need to be any point to the activity beyond having fun and enjoying yourself. By giving yourself permission to play with the joyful abandon of childhood, you can reap oodles of health benefits throughout life.

Featured post

Challenge Meme

Seven years ago I issued a challenge to celebrate 20 years of the modern BJD, that I had also done three years previously. As things have be...

Friday

Diorama Progress

It's been a little while since I last posted and I am aware I have been slack in replying to all your comments, for this I apologise. At this late stage I probably won't get round to it, but I thank you for them and for continuing to drop by.

I have finally found a few moments to take photos of my diorama progress so far, though they are not the best. However, they will give you an idea of what I have been doing so far . . . and there's so much more to come.


This is the gold room, with a salmon coloured carpet which I have decided to use with another room in future. I am also working on a small half round side table with a pink marble top to go under the back window.


I'm happier with this carpet, though it's only made of paper as a test run. I will re-print it on fabric at a later date.


I still need to re-paint the skirting boards so they are nice and white like the window frames. I am really happy with the marble floor though. The gold and grey furniture is available in raw form from Fairy Meadow Miniatures.


With the room box walls reversed and the grey furniture which will eventually be used in my Fleur & Ruben diorama. The ice mint furniture below, was made from kits I purchased from Etsy (sorry I cannot remember the name of the store). The carpet is also made of paper, and which I will re-print on fabric.


You can see more clearly the garden scenes I have used outside the windows. I made these by using photos of gardens I found on the internet, printing them out on A4 paper then gluing it to crocodile board. Hubby made me wooden stands to slot them in, which is great, because I can change them as I need.

My models were my Kurhn Fashion Week Sweet Lolita and my Integrity Toys Poppy Parker™ Gardens of Versailles. Well that's it for today my lovelies.

Thursday

Keeping Wall Art in 1:6 Scale

When selecting wall art for your diorama, size is nearly as important as the composition of the piece. An improperly sized picture can either overwhelm a room or allow the room to overwhelm it, neither of which is aesthetically pleasing.

Tall, narrow walls will work best with art of a similar shape, created in a portrait, or vertical orientation, while horizontal wall spaces like a hallway, work best with landscape oriented artwork. 

As a general rule, for a wall with no furniture the art (including the frame width if it has one) should take up approx. 66% of the space. This will prevent it from looking lost and allow the remaining area of wall to frame the piece nicely.

When hanging over furniture like a sofa, table, etc. the art should be 75% the width of the furniture. Over the fireplace mantle, it's best not to extend wider than the width of the fireplace opening.

To determine what the height of a piece to choose for a bare wall, keep in mind it should be hung with the center point at the eye-level of your doll . . . don't hang it too high or too low!


If you find several pieces within the same color palette or story which you particularly like, or to display your own mini photography in frames, you can group together those which are all the same size, or create real visual interest by grouping together pieces of varying sizes.

Music is the story behind this gallery composition.

Tip:
If you choose to do a gallery wall, lay the pieces out on the floor first, allowing the same separation between each one, then measure the total groupings height and width and make sure it follows the same guidelines above for filling up your space.


NOTE: All photos were sourced from Pinterest.

Friday

Think Outside the Box

Many of us would like to have a room in the perfect scale to suit all our dolls, but not many of us have homes large enough to house them all. Personally I find dioramas in the 1:6 scale work best for me. But no matter what size you want to create, here are a few things that I have found make creating a room a bit easier.

Before beginning a diorama, I like to browse interior decorating magazines, paint booklets and home furnishing catalogues like IKEA publishes. I cut pictures out of the rooms I'd like to make and keep them in a folder to use for future reference. These help figure out furniture layouts and suitable colour combinations for my dioramas.

I've been working on a new diorama using a kit from Fairy Meadows, where the walls can be reversed and also separated for easy storage. I'm creating two rooms using different colour palettes, one cool, one warm. 


I've painted a faux marble floor, it's a neutral colour and compliments my two palettes, but contact paper is another simple option . . . there are some great patterns available which are suitable for both hardwood floors or tiles, the final choice will depend on which room needs decorating.


As my kit room came with a rear wall and two sides, I'm decorating all three walls in individual colours, then by placing alternate pieces of furniture and taking photos from two separate angles, I am able to make my photos look like they were taken in two different rooms.

For cutting the skirting boards at a 45° angle, I use my hubby's mitre box, but you can find reasonably priced small ones at Bunnings and Hobby Tools has a great little mitre set here. It's also useful when making architraves, cornices and picture frames. This tool helps achieve a more profession finish on all the corners. 

When attaching wall art and other items like mirrors, I use a low tack painter's tape which can be removed without damaging wall surfaces (also available at Bunnings).

Suggestions:

Think about simple things that will create an interesting interior design i.e. I found some perspex jewellery risers which I previously used as tables in an earlier mid century diorama. Train yourself to look at things you find in your daily life, to see how they could be used in a way other than for what was intended, i.e. place-mats can be used as rugs, an egg cup could be up turned to create a table base. The $2 shops are a great place to look for items that which can easily be utilised in this way.

When it comes to soft furnishings like curtains, bed linen or pillows, Spotlight has fat quarters of quilting fabric for a couple of dollars each. Many of these have tiny prints and they are usually arranged in blocks of colour, which makes it easy to select co-ordinating fabrics for each room.

When pulling it all together, make the room appear lived in and select items which compliment the story you are trying to tell with your dolls i.e. a small child's room may have toys on the floor, a bean bag in a corner, stuffed animals on the bed, a colourful bunting hanging on the wall or all four. Depending on the child your portraying, the room could be ultra tidy or completely messy.


The room above is a good example of a lived in lounge room, see the cardigan on the back of the chair, items on the coffee table, goblets on the side table and throw on the sofa.

And don't forget lighting, it plays an important roll when it comes to photographing your room/s. IKEA and Bunnings sell all kinds of LED lights that put off very little heat and can be used to great effect as concealed ceiling lights.

I'm, still working on mine, but I will show photos when it's completed. In the meantime, I hope this post helps when and if you want to make a diorama of your own. 


Zombie Prom

Zombie Prom Amber is a doll from the Ellowyne Wilde line. She was produced by Wilde Imagination in 2013 as a limited edition of 150 for the Wilde Halloween Convention and retailed at US$199.

This doll features the Amber Stanhope head with an Ellowyne body in a pale skin tone. She has inset hazel eyes with applied eyelashes, wigged raven hair, articulated elbows, wrists and knees.

Her outfit comprises a tiara (which is attached to the wig), a dress with a glittery black bodice, ruffled black and grey chiffon skirt, black net gauntlets and a “Prom Queen” sash. Underneath she wears tights and black glittery platform shoes.

She's not from the USA this time round, nor Australia, but from New Zealand. Her parcel shipped to day so hopefully the trip won't take too long, but knowing how impatient I become, it will still not be quick enough.

TONNER STOCK PHOTOS

Something about her beautiful face reminds me of Snow White, but hubby sees her as an Evil Queen. :) How do you see her?


Thursday

Reminiscing

Going through my old photos recently, I came across these photos of my "Silver Screen" series of whimsical bears. At the time (long ago, in another creative world ) I fully intended to design and sew a couple more . . . I had even done rough sketches and selected the fabrics. But, as is often the case, circumstances led me down another path and so they were put aside.


All three were purchased by a collector in Florida.

I never did finish Zsa Zsa Gabear and Carmen Bearanda . . . maybe one day I'll be compelled to conjure up these two colourful critters.

“You don't know what can happen tomorrow. Life is like a novel, isn't it? It's filled with suspense. You never know what's going to happen until you turn the page.”  Sidney Sheldon