Everyone Needs Playtime

In our hectic, modern lives, many of us focus so heavily on work and family commitments that we never seem to have time for pure fun. Somewhere between childhood and adulthood, we stopped playing.

When we carve out some leisure time, we’re more likely to zone out in front of the TV or computer than engage in fun, rejuvenating play like we did as children. But play is not just essential for kids; it can be an important source of relaxation and stimulation for adults as well.

There doesn’t need to be any point to the activity beyond having fun and enjoying yourself. By giving yourself permission to play with the joyful abandon of childhood, you can reap oodles of health benefits throughout life.
Showing posts with label Diorama. Show all posts

Friday

My Latest Project . . .

has been in the pipeline for a long, long time. I started thinking about building a 1:6 scale boutique way back in October 2019. My initial thought was to build a "Paris Boutique", but this evolved to become a Fashion House with Boutiques in LONDON, PARIS and NEW YORK.

The idea underwent many changes before it became suitable for my kids to go shopping there in London. 

Ivy and Heather are just window shopping for now.

Rose bought a bottle of perfume! Lily isn't impressed.

There's more to see in this journey over at Fleur and Ruban.

Saturday

News from the Studio

Since arriving home from my holiday I have been busy with my room box and have changed my colour scheme for the Fleur & Ruban boutique. Using two of the walls from the Library and a plain wall from the yet to be completed Kids Bedroom, I settled on a yellow and grey pallet.

I have also begun assembling the Atomic Age Living Room and it just needs a few accessories like wall art, curtains, perhaps some lighting and minor incidentals to complete the look, but this is how it looks so far.


As you can see by the photo below this colour scheme was incredibly popular during the 1940's, though I chose to go with a timber floor rather than the marbled linoleum.

PHOTO CREDIT: Armstrong Linoleum / American Home


Thursday

And A Little Bit More

In this shot, where the girls are chatting over a glass of lemonade, you can see the white panther art deco curtains and the gold columns.

The table and chairs which have been featured before here, are available in kit form from the Fairy Meadow Miniatures online store. I gave the table top a granite look and painted the base & chairs navy blue. I also upholstered the chair seat and back.

Saturday

The Kids Kitchen is Finished!

Primrose has been baking in the Kids Kitchen and is annoyed that "someone" has stolen one of her tarts.


Oh dear, Holly you are a naughty girl! Couldn't you at least wait until they had cooled down first?


The final pieces of furniture have been completed and the wall with the French doors is done.


From left to right: Broom cupboard, bench/cupboard, oven/rangehood, corner bench/cupboard, bench/cupboard, sink/cupboard, double bench (under window), refrigerator/cupboard. Centre: Island bench with two stools.

All the doors open, including the oven, fridge-freezer and French doors.

That's it for today on here, but there's more to read over at  Studio 1283. Happy reading, I hope you all have a wonderful weekend. :)

Friday

A Small Insight

For the past few days I have been working on a new diorama (using the kit room) . . . my "Paris Studio Apartment" . . . and I have almost completed the Holland Blinds for the two windows. I still need to add either a ring or tassel to the bottom of the blind . . . however, I haven't made up my mind which will look better.


Of course no studio apartment would be complete without a number of cushions for added comfort. Quite a bit of sewing needed here, but these are now finished and ready to go.


It also required a bookshelf . . . so I used the plastic one from my IKEA Huset set and glued on a painted Crocodile board back panel to give it a fresh look.


Next I made some canvases to hang on the walls (using pictures found on Pinterest) which reflect the colours used throughout this diorama.


I'm still painting new furniture and sourcing final bits 'n' pieces, but it shouldn't be long before I can show you the completed diorama. I hope you like what I've shown you so far.


Just in case you're wondering, the room colours are based on the triadic scheme used in the fabric which I chose to use for the blinds.


Sunday

A Hint of Colour

I'm still up to my eyeballs with making/painting my own diorama furniture, so I have been too busy to take photos this week. However, I have this post which I hope will help my fellow diorama enthusiasts who may be struggling with colour.

Colour plays an important role when it comes to decorating a diorama and the use of a colour wheel is really beneficial to develop colour schemes with these key approaches.

Monochromatic
 
Three shades, tones or tints of one base colour. This variation of a single colour creates schemes which are serene and relaxing. Light tones create a relaxed delicate feel, whereas dark tones can feel moody and dramatic. Mixing light and dark tones is easy to apply to design projects for a harmonious look.

Complementary
These colours can be found on the opposite sides of the colour wheel, such as lime and hot pink or blue and orange. Used together, the colours will appear brighter and more prominent.


Contrasting
Colours which are not in the same colour “family” or that aren’t exactly harmonious can work very well together. By using a bold or deep colour from one area of the colour spectrum and using a lighter colour from a different family, the overall impact can be quite striking, like lemon yellow and royal blue.


Aside from those above, there are other combinations, such as Triadic and Split Complimentary, but for the purpose of making dioramas, they are not really necessary. As the saying goes "less is more" and it's easy to complicate a room by introducing too many variations of colour into such a small space.

I hope this post helps those aspiring diorama builders out there in the dolly world, colour is a great inspiration to me and so much fun to experiment with and I do love having fun . . .  don't you?


NOTE; PHOTOS WERE SOURCED FROM PINTEREST

Friday

Diorama Progress

It's been a little while since I last posted and I am aware I have been slack in replying to all your comments, for this I apologise. At this late stage I probably won't get round to it, but I thank you for them and for continuing to drop by.

I have finally found a few moments to take photos of my diorama progress so far, though they are not the best. However, they will give you an idea of what I have been doing so far . . . and there's so much more to come.


This is the gold room, with a salmon coloured carpet which I have decided to use with another room in future. I am also working on a small half round side table with a pink marble top to go under the back window.


I'm happier with this carpet, though it's only made of paper as a test run. I will re-print it on fabric at a later date.


I still need to re-paint the skirting boards so they are nice and white like the window frames. I am really happy with the marble floor though. The gold and grey furniture is available in raw form from Fairy Meadow Miniatures.


With the room box walls reversed and the grey furniture which will eventually be used in my Fleur & Ruben diorama. The ice mint furniture below, was made from kits I purchased from Etsy (sorry I cannot remember the name of the store). The carpet is also made of paper, and which I will re-print on fabric.


You can see more clearly the garden scenes I have used outside the windows. I made these by using photos of gardens I found on the internet, printing them out on A4 paper then gluing it to crocodile board. Hubby made me wooden stands to slot them in, which is great, because I can change them as I need.

My models were my Kurhn Fashion Week Sweet Lolita and my Integrity Toys Poppy Parker™ Gardens of Versailles. Well that's it for today my lovelies.

Think Outside the Box

Many of us would like to have a room in the perfect scale to suit all our dolls, but not many of us have homes large enough to house them all. Personally I find dioramas in the 1:6 scale work best for me. But no matter what size you want to create, here are a few things that I have found make creating a room a bit easier.

Before beginning a diorama, I like to browse interior decorating magazines, paint booklets and home furnishing catalogues like IKEA publishes. I cut pictures out of the rooms I'd like to make and keep them in a folder to use for future reference. These help figure out furniture layouts and suitable colour combinations for my dioramas.

I've been working on a new diorama using a kit from Fairy Meadows, where the walls can be reversed and also separated for easy storage. I'm creating two rooms using different colour palettes, one cool, one warm. 


I've painted a faux marble floor, it's a neutral colour and compliments my two palettes, but contact paper is another simple option . . . there are some great patterns available which are suitable for both hardwood floors or tiles, the final choice will depend on which room needs decorating.


As my kit room came with a rear wall and two sides, I'm decorating all three walls in individual colours, then by placing alternate pieces of furniture and taking photos from two separate angles, I am able to make my photos look like they were taken in two different rooms.

For cutting the skirting boards at a 45° angle, I use my hubby's mitre box, but you can find reasonably priced small ones at Bunnings and Hobby Tools has a great little mitre set here. It's also useful when making architraves, cornices and picture frames. This tool helps achieve a more profession finish on all the corners. 

When attaching wall art and other items like mirrors, I use a low tack painter's tape which can be removed without damaging wall surfaces (also available at Bunnings).

Suggestions:

Think about simple things that will create an interesting interior design i.e. I found some perspex jewellery risers which I previously used as tables in an earlier mid century diorama. Train yourself to look at things you find in your daily life, to see how they could be used in a way other than for what was intended, i.e. place-mats can be used as rugs, an egg cup could be up turned to create a table base. The $2 shops are a great place to look for items that which can easily be utilised in this way.

When it comes to soft furnishings like curtains, bed linen or pillows, Spotlight has fat quarters of quilting fabric for a couple of dollars each. Many of these have tiny prints and they are usually arranged in blocks of colour, which makes it easy to select co-ordinating fabrics for each room.

When pulling it all together, make the room appear lived in and select items which compliment the story you are trying to tell with your dolls i.e. a small child's room may have toys on the floor, a bean bag in a corner, stuffed animals on the bed, a colourful bunting hanging on the wall or all four. Depending on the child your portraying, the room could be ultra tidy or completely messy.


The room above is a good example of a lived in lounge room, see the cardigan on the back of the chair, items on the coffee table, goblets on the side table and throw on the sofa.

And don't forget lighting, it plays an important roll when it comes to photographing your room/s. IKEA and Bunnings sell all kinds of LED lights that put off very little heat and can be used to great effect as concealed ceiling lights.

I'm, still working on mine, but I will show photos when it's completed. In the meantime, I hope this post helps when and if you want to make a diorama of your own. 


Project: Diorama for Mia Mary

For some time now, Mia Mary (Liz Frost's 14" Mia) has been wanting of a room of her own. So it was up to me to provide one for her . . . we can't have unhappy dolls living in this house. :) The diorama is the largest I have done so far . . . measuring 80cm/31.5" wide x 50cm/19.75" deep x 50cm/19.75" high.


This chair, footstool and table was purchased as a raw flat-pack from Le Quak on Etsy, then I assembled, painted and upholstered it all myself.


As this was a bedroom, Mia needed an outfit to sleep in and so I knitted her a set of baby doll pyjamas. They were designed by Jacqueline Gibb of Jacknitss and the pattern is available on Ravelry.


Hubby had made and painted a bed for her some time ago, but I only finished the duvet (using the same fabric as the upholstered chair) just recently. BTW do you remember me showing you these fabrics? Then I made cushions and knitted the throw to co-ordinate.

Had I known when hubby made the bed, that I was going to paint the chair this pretty Spring White (which is really a very pale shade of aqua), I would have told him not to paint it, so all her furniture would be the same colour. But I guess the white bed doesn't look too much out of place, seeing that the pot that the plant is in, is also white.


The fireplace, which you have seen before, also has the mantel painted Spring White. The blue wall and green flooring is fabric stuck to foam-core board. However, I am thinking of re-doing the floor with wood planks and adding a rug to give the room more texture.

I also need to do something about providing a window for her to look out and finish her standard lamp which I am currently working on. The little tea-set is miniature bone china by Wedgwood.

Well that's it for today. Hope your weekend is happy and creative!
Big hugs,

Wednesday

Midweek Update

As you already know, Nigel North was on his way on 18th April. Shipping was progressing reasonably well until April 21st when he departed O'Hare International, Chicago USA at 6.09 am and I haven't heard a word from USPS since.

I think my poor boy is lost in the mail, as he hasn't touched down in Australia yet and I am really feeling pretty p****d off with USPS. Don't know why I bothered to pay for Priority Post!! Even taking the Easter break into consideration, he should have been here by now. My sender is checking on him for me, but I don't know how long it will take before I hear anything positive.

Anyway on to brighter things, here is today's photo of the fireplace. It looks really cool IRL, but the camera always show up the areas that need more attention, so I still have some minor touch ups to do.


And here's a sneak peek at things to come. :)


Can you guess what I have planned?

Until next time, have a happy dolly week!
Big hugs,
X

EDIT: After not hearing anything from my sender, I lodged a missing parcel enquiry with Australia Post at 5.20 pm Wednesday and finally, this morning when I checked my Australia Post tracking, it said Item processed at facility (meaning rotten Customs) Sydney NSW Thurs 2 May at 9.31 am.

Sunday

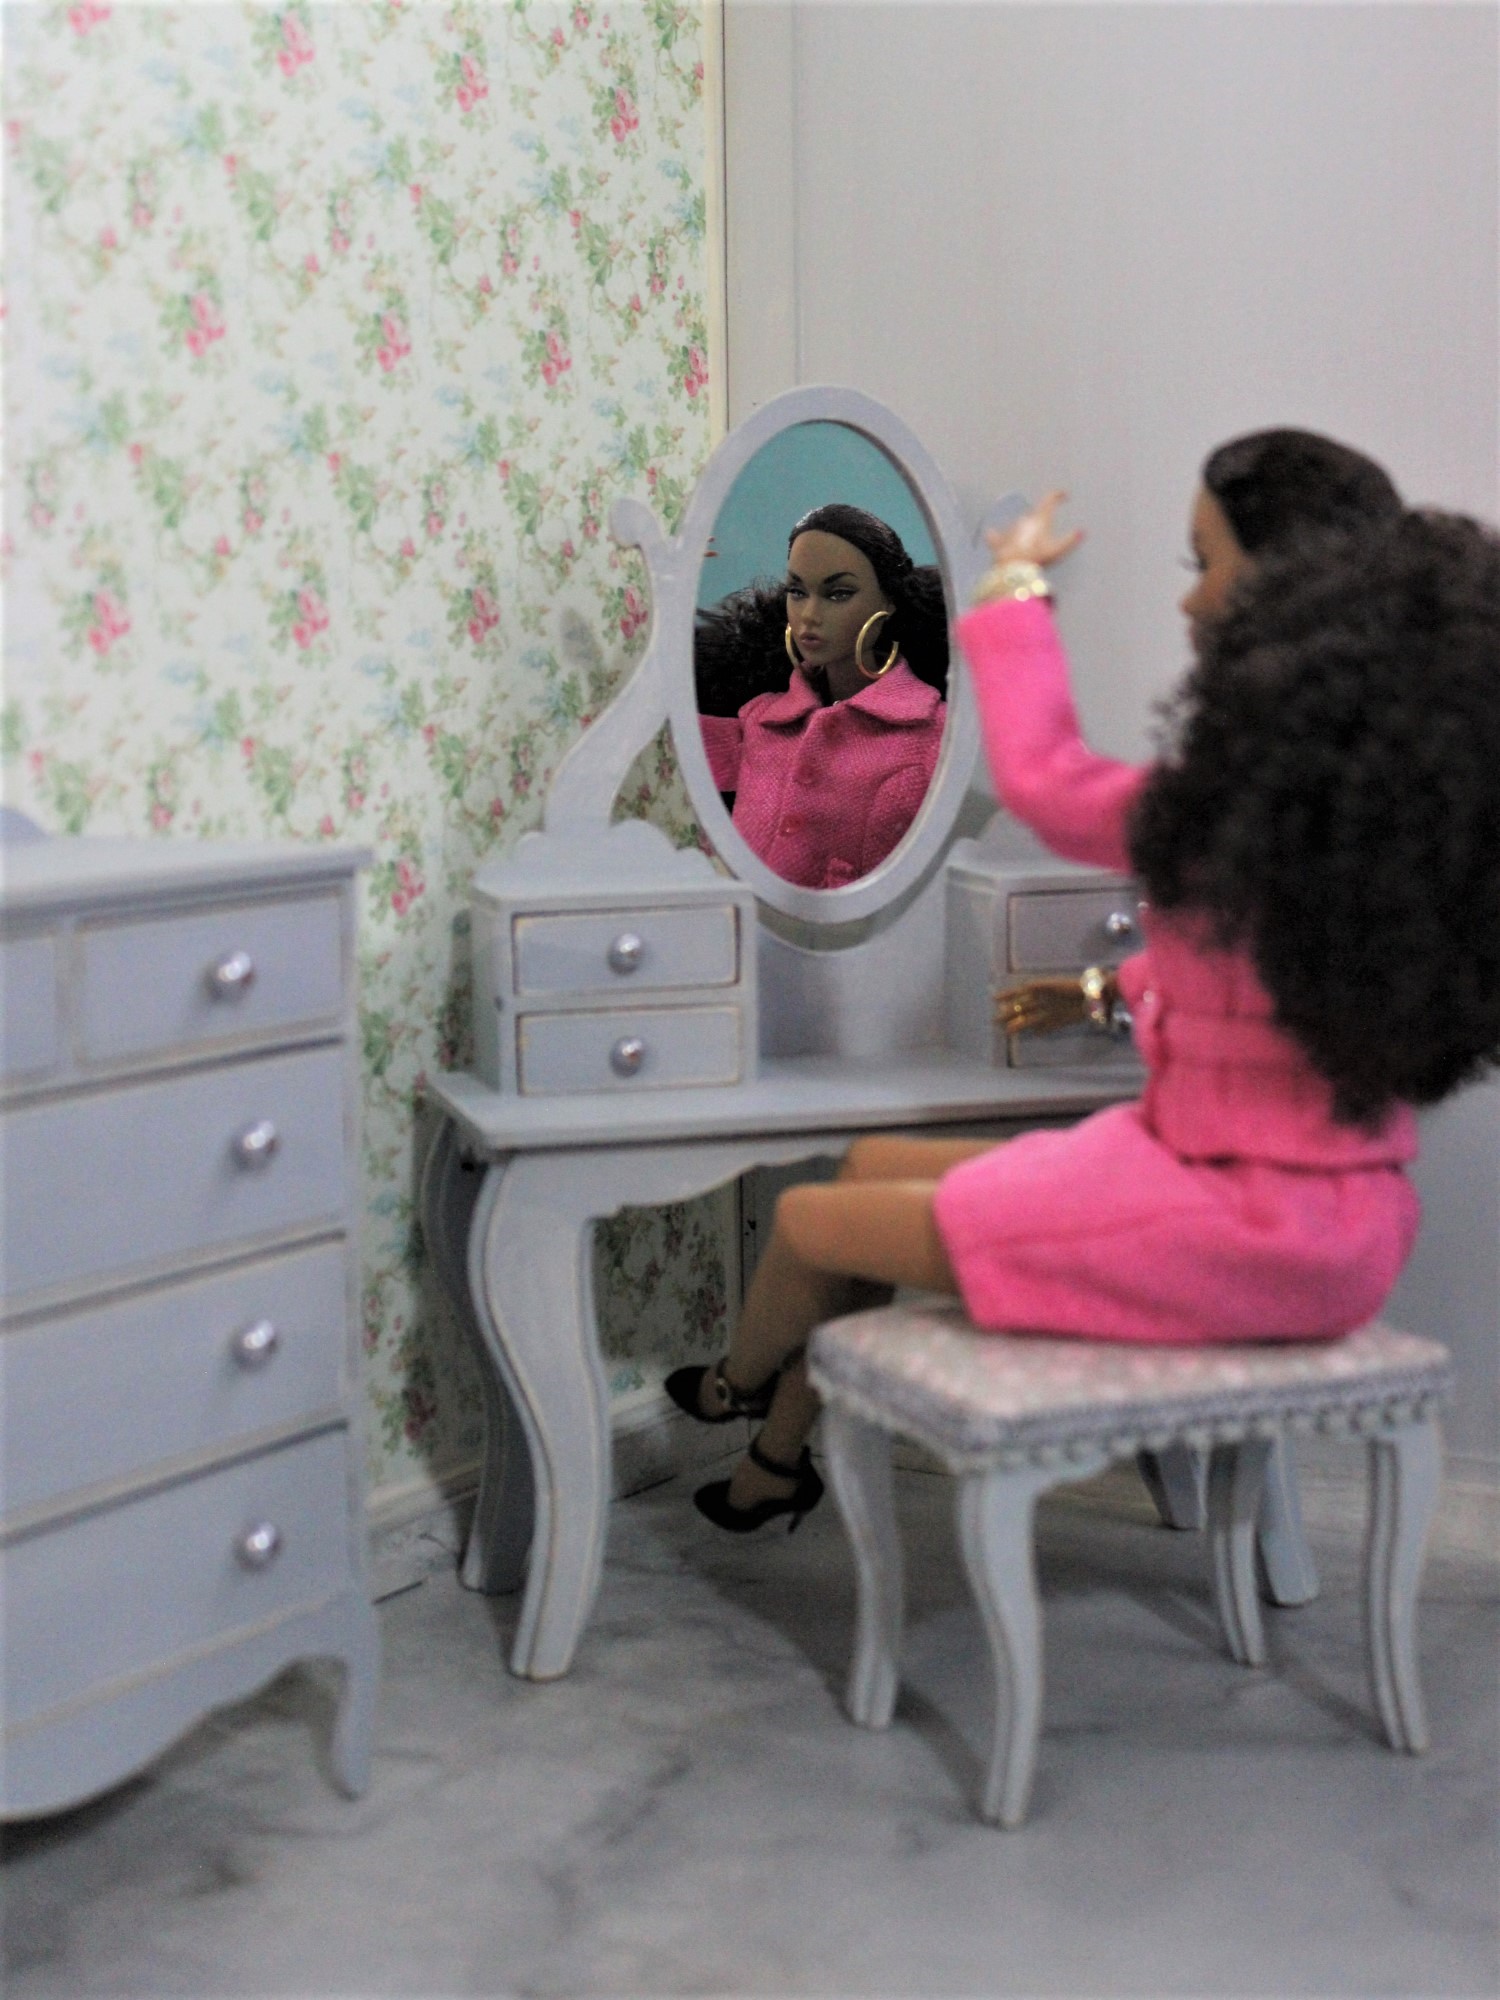
Project: Dressing Salon

Thinking pink again! Well let me tell you, it wasn't intentional, I just used the wallpaper as inspiration and it so happened I had just the right pink fabric and Ultrasuede on hand. :)


Still I guess pink is a pretty colour for a girls dressing salon, the place where she can sit quietly and do her make up and dress for success.

I covered the floor with some woolen fabric from my stash, the aubergine rug is Ultrasuede (it makes great rugs, no need to sew to have neat edges, just cut neatly), the skirts on the table and stool are spotted voile. Haven't figured out what to do with the mirror yet and there are lamps to finish.

I am not exactly sure whether this room will remain as it is, I really wanted to fit in a bed as well, to make it a bed room, however, it's not quite large enough. Anyway I shall keep on with the accessories and see what the week ahead has in store.

Hope you are all enjoying your Easter break, and eating lots of chocolate!
Big hugs,
X

Saturday

Project: Mid-Century Diorama (Pt 2)

For those who wanted to see the 1:6 scale ball chair, here it is. It arrived yesterday and when I took it out of the box, I was surprised how much bigger it was than I expected. But when you think about it, it needed to be that big to fit a doll body in it. :)

With adjustments made to the window so you can see the garden and moving it to the other wall.


And should your dolls want to cosy up, the ball chair will even fit two! 


It took me a little time to figure out how the foam cushions sat in the ball, but figure it out I did. I think the three soft cushions that came with the set were much smaller than they really needed to be to support the doll/s back, so I will make some larger ones that will make posing the doll/s easier.

If you would like one of your own, you may still be lucky to find one on eBay, but I warn you, they are not going cheap . . . just type in Poppy Parker British Invasion Ball Chair into Google. :)
GOOD LUCK!

Wednesday

Project: Mid-Century Diorama (Pt 1)

It's unfortunate that China Post seems to be going around in circles lately, so I am still waiting on many of the props for this diorama. But I thought it was time I showed what I have done up to date.


The tulip chair in 1:6 scale.


Ikea shelving from the "Huset" living room set of doll furniture and the desk is a cake riser.


Floor is denim fabric stuck to board with spray adhesive and the rug is micro suede.
The window behind the desk will be changed shortly. I originally thought the beaded curtain would cover the blue and it didn't, so it looks like I need a window with a view behind the pelmet.

-oOo-

Let me finish this post with a big thank you to all who left comments on the previous post, I am so grateful to all my readers who stop by and take the time to "speak to me". :)
Big hugs,
X

Thursday

Project: Mid-Century Diorama Inspiration

My inspiration for the diorama that I an currently working on, came from early furniture by Italian, and in particular Finnish designers. I have included some furniture pieces you may find familiar, though you may not be fully aware of their history.

The Italian company Kartell, founded in 1949 by Giulio Castelli, is famous around the world for having invented the culture of plastic furniture and interior fittings. Giulio, a chemical engineer with a vision to create something good from plastics, (a material whose applications at this time, were still relatively unexplored) collaborated with designer Gino Colombini and won the firm its first Compasso d’Oro award in 1955.

Since the 1960s and 70s, Kartell has become an enduring household name due to famous designs by Anna Castelli Ferrieri (above) and Cesare "Joe" Colombo in the 1960s to more recent hits such as Philippe Starck’s Ghost Chairs (left) and Ron Arad’s fun Bookworm shelves (right).

You will see more furniture these days made from Lucite® a high quality plastic acrylic nearly half the weight of glass, yet with added durability. It is available in a variety of  colours and lasts longer than other plastics with its resistance to yellowing and fading.

The Tulip Chair (left) by Eero Saarinen, a Finnish American architect and industrial designer. Saarinen first received critical recognition, while still working for his father, for a chair designed together with Charles Eames for the "Organic Design in Home Furnishings" competition in 1940, for which they received first prize. The "Tulip Chair", like all other Saarinen chairs, was taken into production by the Pennsylvania based Knoll furniture company, which was founded in New York City in 1938 by Hans Knoll.

The Ball Chair (right) by Eero Aarnio a Finnish interior designer, noted for his innovative furniture designs in the 1960s, was created in 1963.

We see these designs now being reproduced and for sale in furniture stores worldwide. Not only are they made for those of us interested in using these "almost timeless designs" in their homes today, these pieces are also being reproduced in China for our dolls.

Some may refer to these items as retro, but according to Wikipedia "Retro style is a style that is imitative or consciously derivative of lifestyles, trends, or art forms from the historical past, including in music, modes, fashions, or attitudes. It may also be known as vintage inspired." 

It generally implies a vintage of at least fifteen or twenty years, which means now even the late 1990's could be retro, so, retro is not a word I like to use to describe historical furniture design of any sort, as it really doesn't relate to any particular period in time. Whereas mid-century modern is the design movement in interior, product, graphic design, architecture and urban development after the second world war, from roughly 1945 to 1975.

During this time, colour played a very important roll in the interior of the homes and I love the way the bright colour accents made interior design ideas feel warm and energetic. Adding a splash of cheerful and optimistic colour to rooms, like those below, makes me feel warm and cosy.


Strangely the colour blue and violet never seemed very popular with the Finns during this period and I have often wondered if they preferred the warmer colours because of their snow and ice climate. :)

Now, even though my room may be inspired by these designs, I shall certainly be looking to decorate my room from a different perspective. After all Australia is not Finland and we have a much warmer climate, so the you may well see purple, blue, aqua and green, instead of red, orange, yellow and lime, or it may even be a little of both, you'll just have to wait and see.

Hope you all are having as much fun as I am.
Big hugs,
X