Well I haven't really been in the mood for dolls this past week or so, you could say I have been suffering from the winter blues. As usual for this time of year, I have been hibernating in front of the fire, knitting. Not for my dolls though, this time I made myself some beanies to keep my ears warm when hubby and I walk our dog. This I found, was a good item on which to use up some of my left over yarns.

It was during this time I noticed my knitting needle roll needed some attention. There were more knitting needles and very little space in some sections of the roll to fit them. So it was time to make another and here it is, my own guide to making one. (Left click on photos to see more details).
REQUIREMENTS:
2 x 64cm pieces of 112cm wide fabric. (1 pce plain for inner, 1 pce print for outer.)
2mtrs of 25mm wide satin ribbon.
Ruler and a washout fabric marker pen or pencil.
A permanent fine marker pen.
Matching thread for sewing.
Sewing machine and overlocker (serger).
Iron and ironing board.
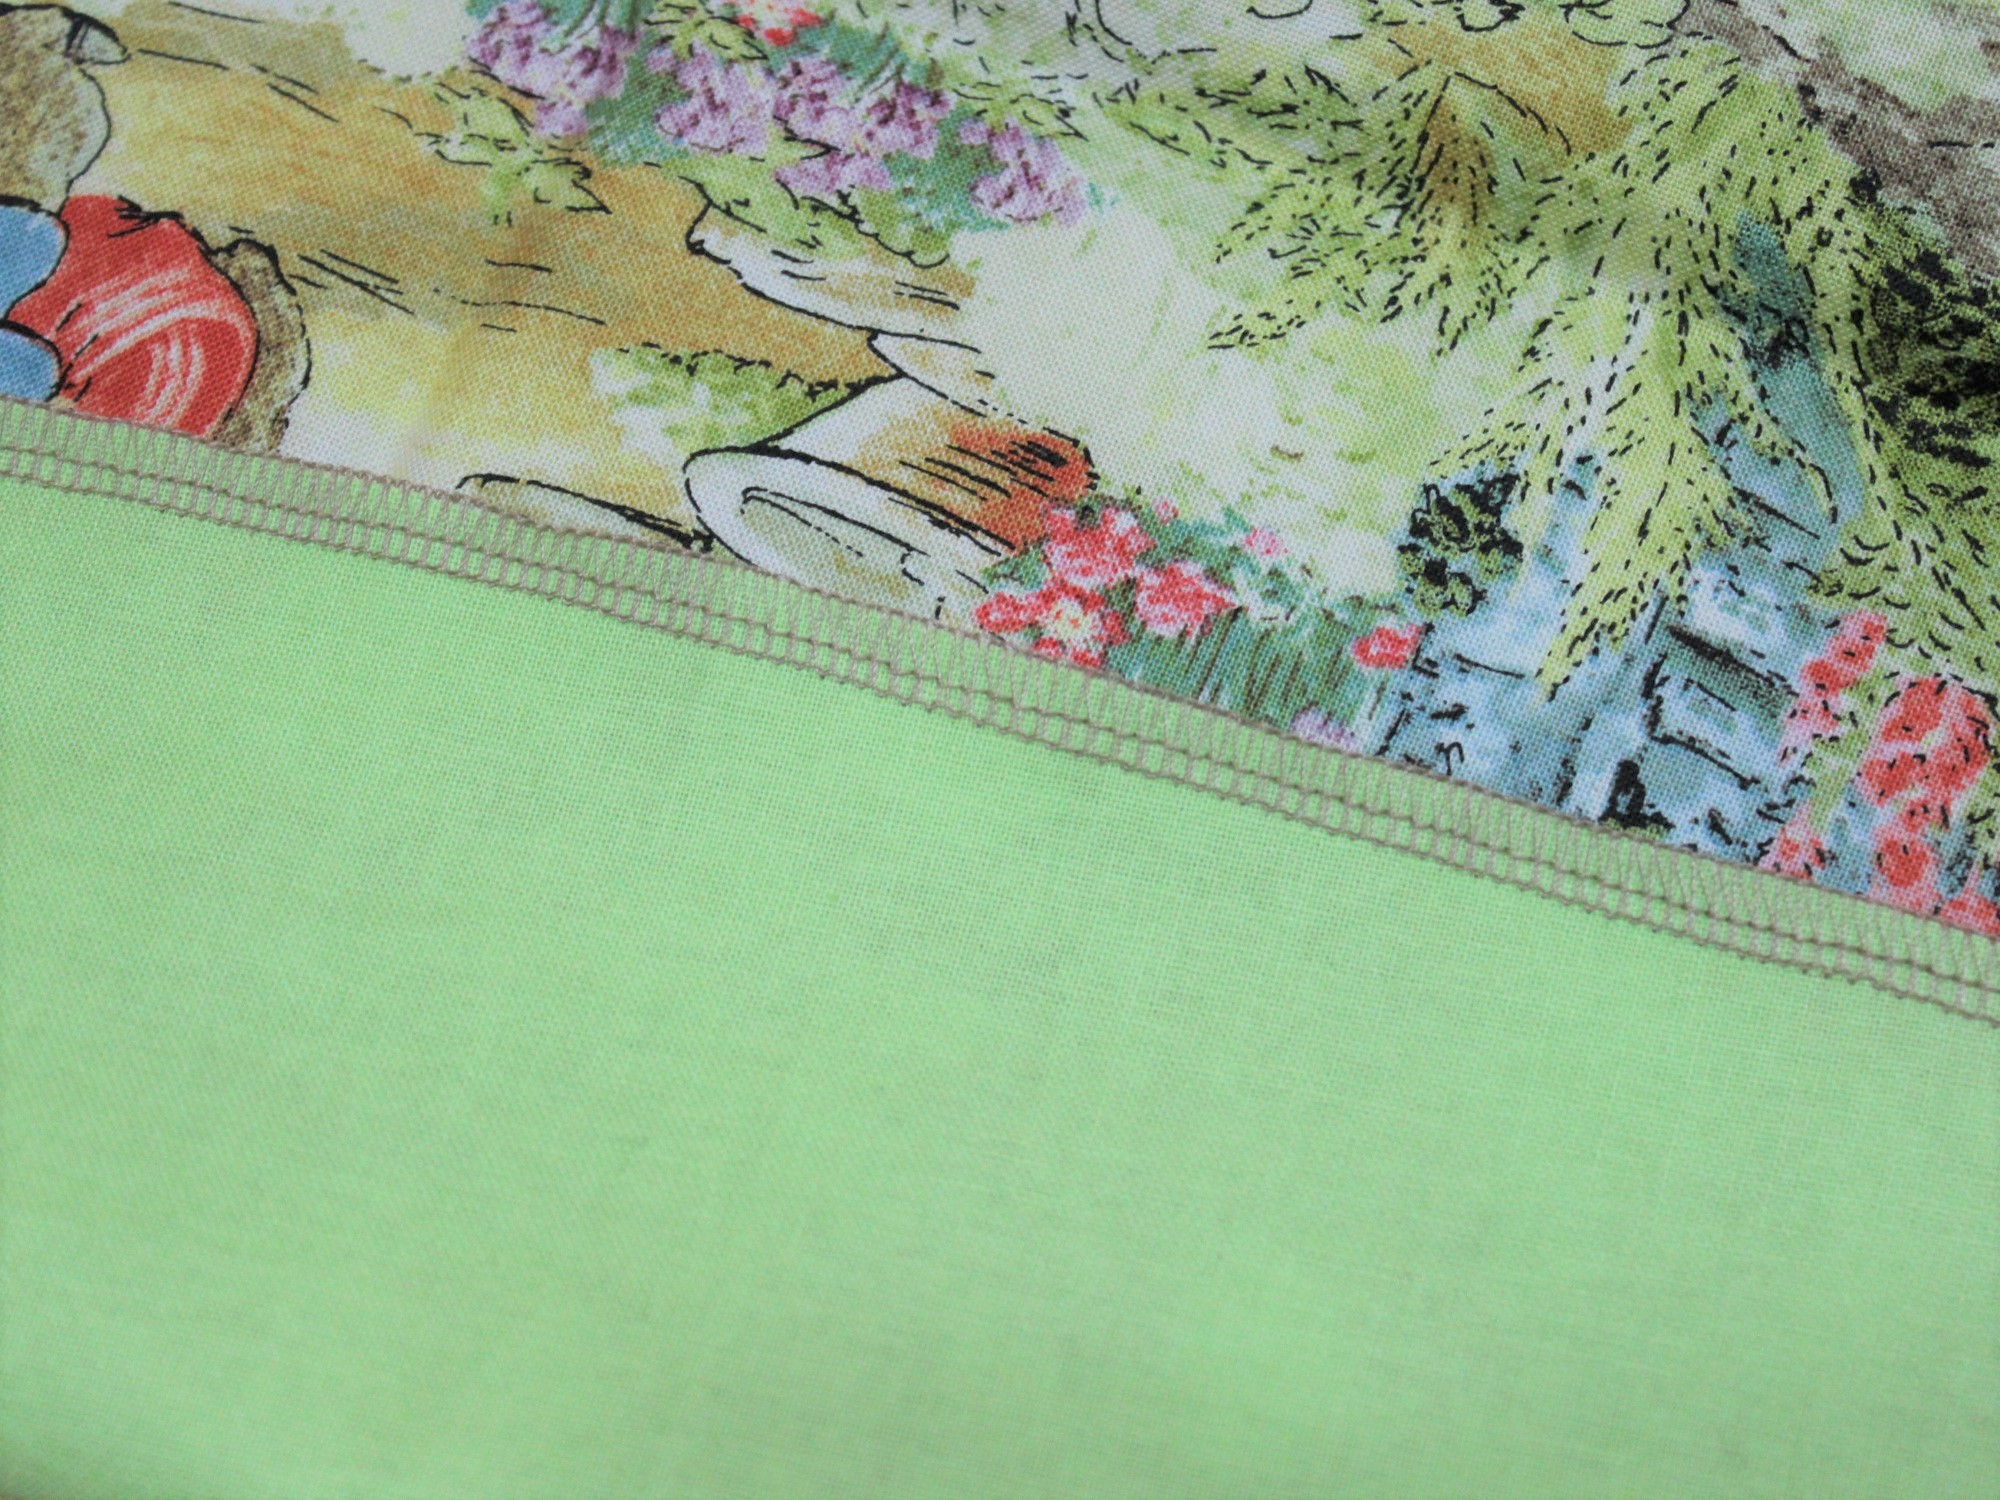
Step 1: Place the two pieces of fabric on top of each other and use your sewing machine to sew along the top and bottom. I used my overlocker (serger), but if you don't have one, use your machine's zig zag or button hole stitch to sew along the edge.
Step 2: Fold the two shorter selvedge ends over 2cm and press flat, then stitch down.
Step 3: Fold the bottom long edge over 2cm and press flat, then stitch down. Do the same with the top edge.
Step 4: Fold the top long edge over 7cm, then press flat before stitching the sides to form a pouch.
Step 5: Fold the bottom long edge over 13cm, then press flat before stitching the sides as you did in step 4. (Finished height should measure 40cm).

Step 6: Cut 35cm of ribbon and place on the left hand side half way between the top and bottom fold overs, using the remainder of the ribbon place it across the fabric, so that the extra length extends in the same direction as the shorter piece.
Step 7: Stitch both sides, so the ribbons are held in place.
Step 8: Rule lines with your washout pen, from the ribbon down to the bottom, after making sure there is enough space to hold each group of needles. (i.e. if you have several sets of a particular size in different lengths, or wish to include a crochet hook of the same size, do a dry run to check the amount of space needed for each size).
Step 9: Stitch along each ruled line creating an individual pouch for each group of needles.
Step 10: Using the permanent fine marker pen, mark each pouch with the size of the needle. (i.e. I have marked mine with both the mm size and a corresponding UK size using the conversion chart below).
The finished size of your roll should hold a good amount of needles, mine range from 1.25mm through to 7.5mm, some of which have different lengths or four double ended needles in each group. When all your needles are in place, simply fold the top flap down, roll it up, tie the ribbon around it and finish with a bow.
That's all folks! Until next time, stay safe and keep smiling!